
 Tiếng Việt
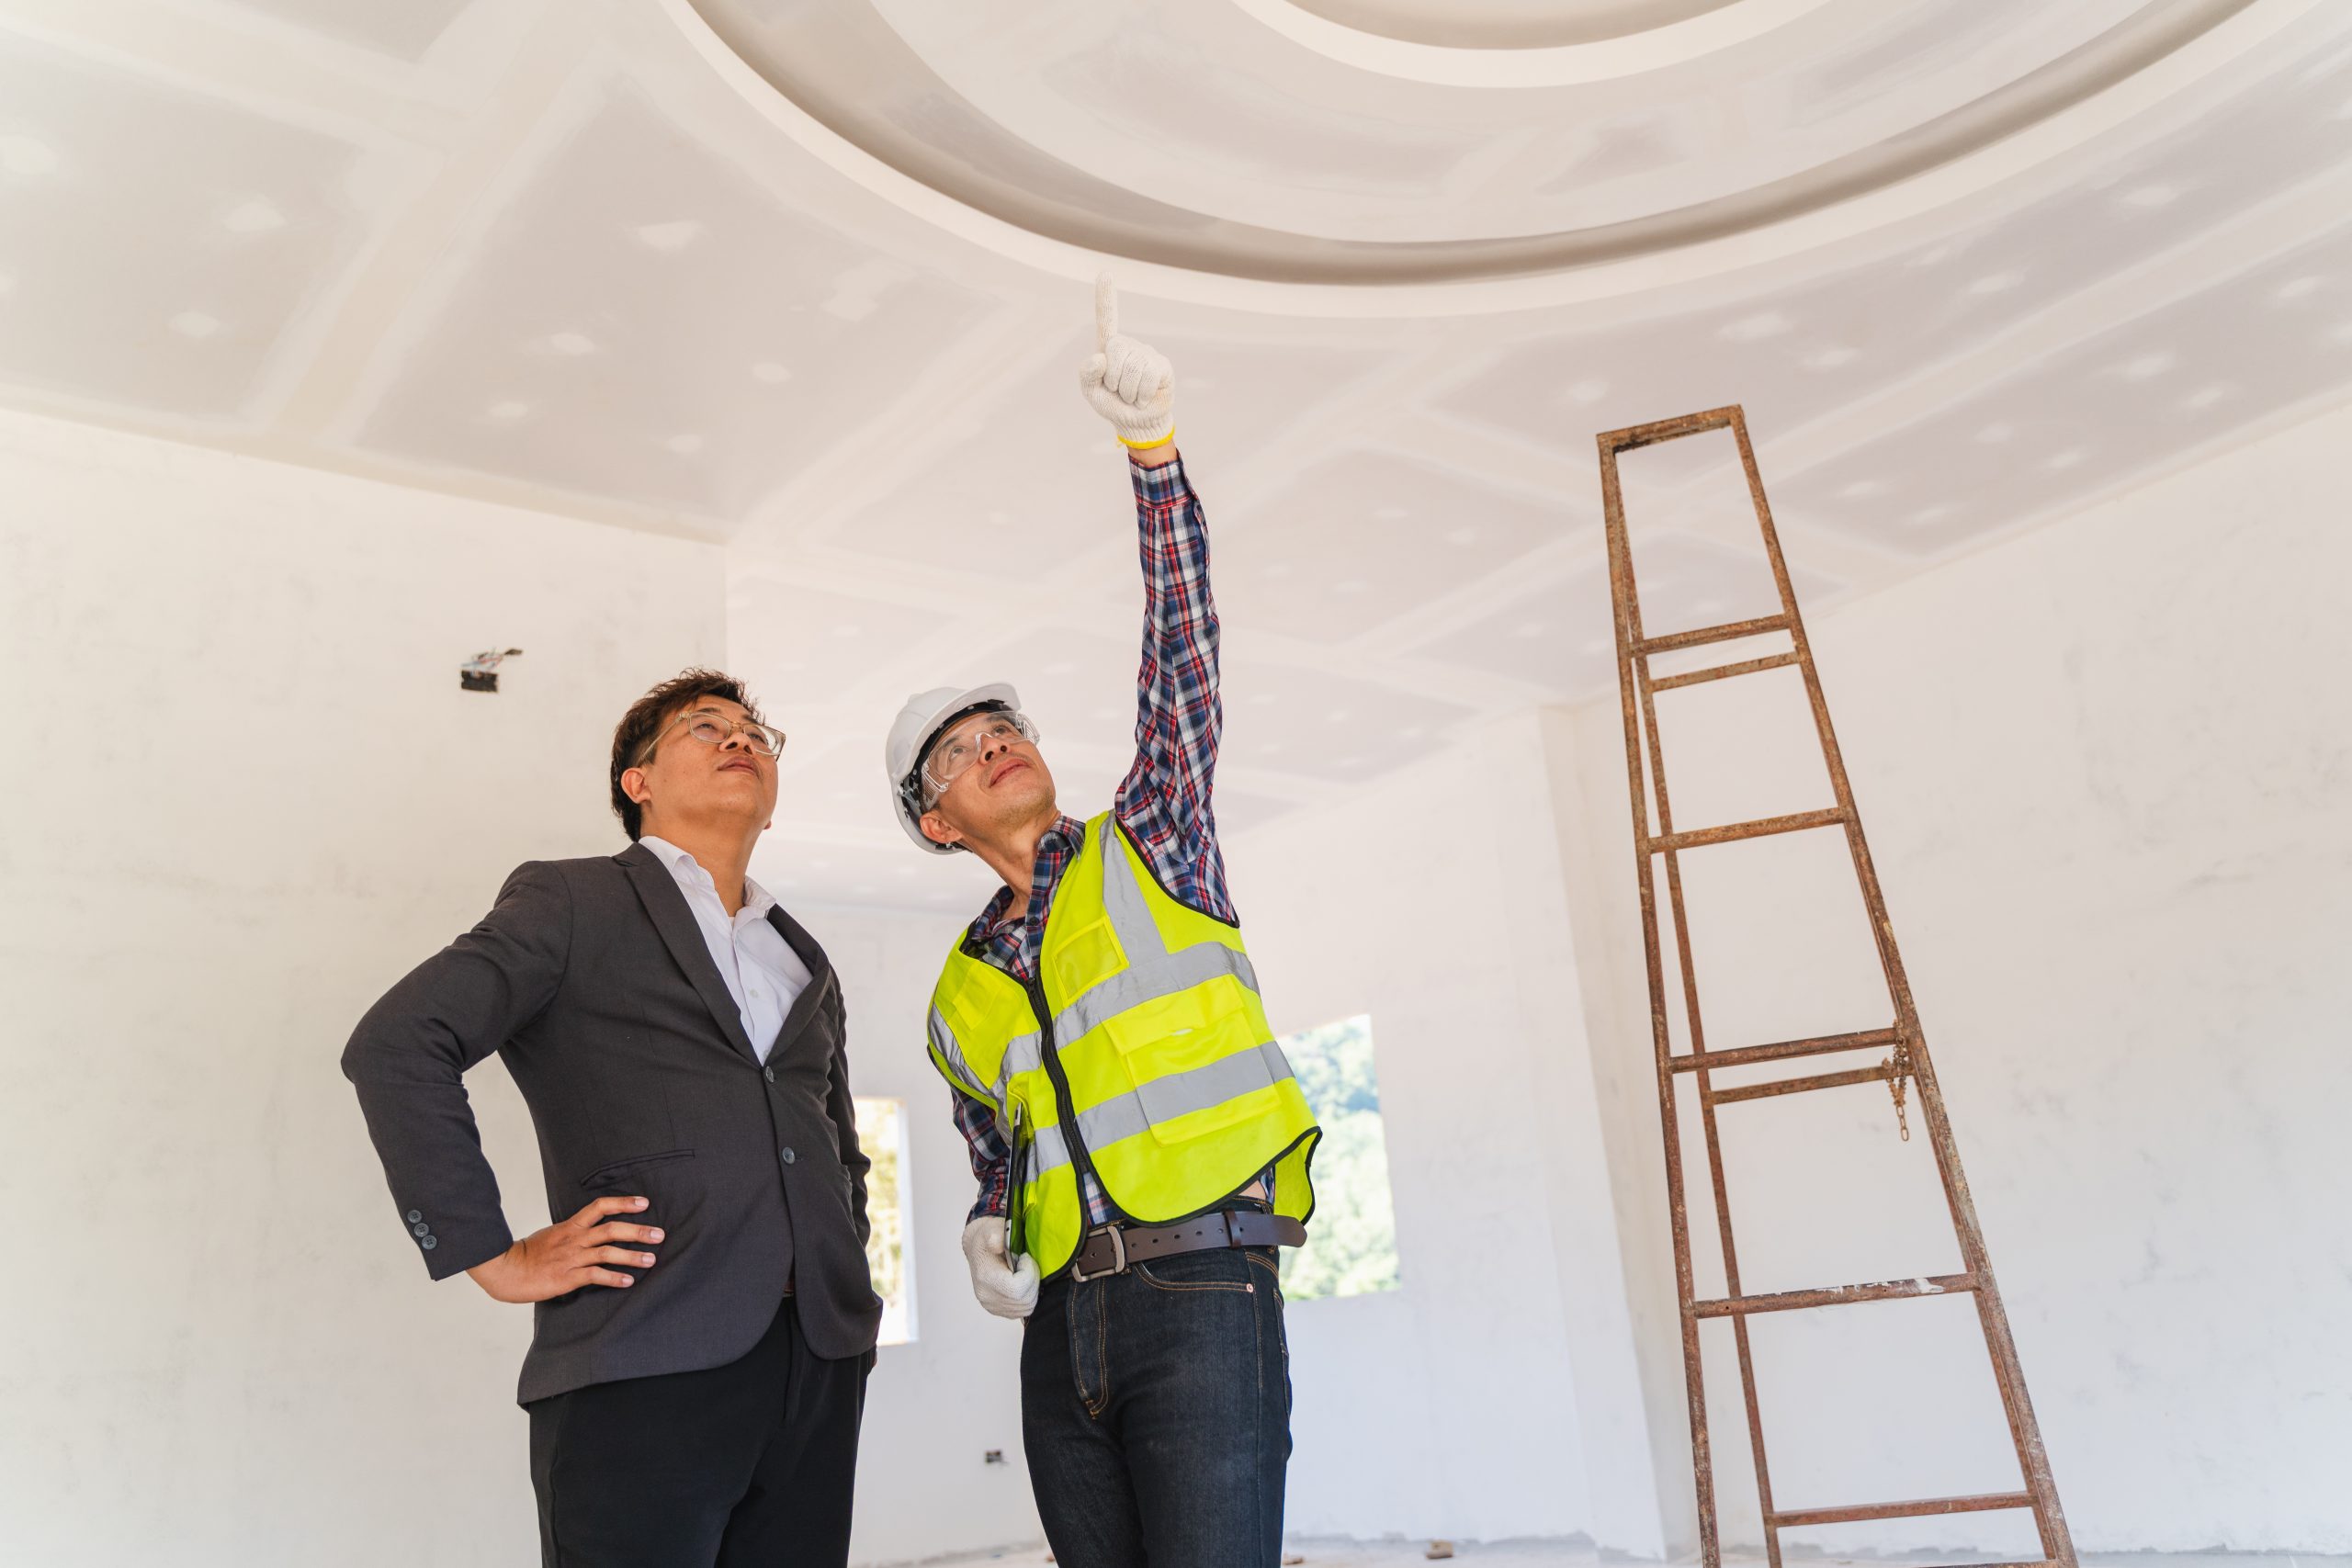
Today’s gypsum partition walls offer excellent rigidity along with superior soundproofing and thermal insulation.
With advantages such as lightweight material, environmental friendliness, and high durability, they are widely used in residential houses and apartment buildings across Vietnam.
 Based on actual construction experience, we have summarized practical knowledge and present below the standard procedure for installing gypsum partition walls.
Standard Gypsum Partition Wall Installation Guide
Components required:
- Vertical studs: Provide structural support for the partition wall system.
- U-Track channels: Used to position and align the main studs, connected to vertical studs using rivets.
- Gypsum boards: Used to form the partition surface. The boards are fixed to the vertical and horizontal frames using screws or rivets.
Installation steps (Gypsum partition wall):
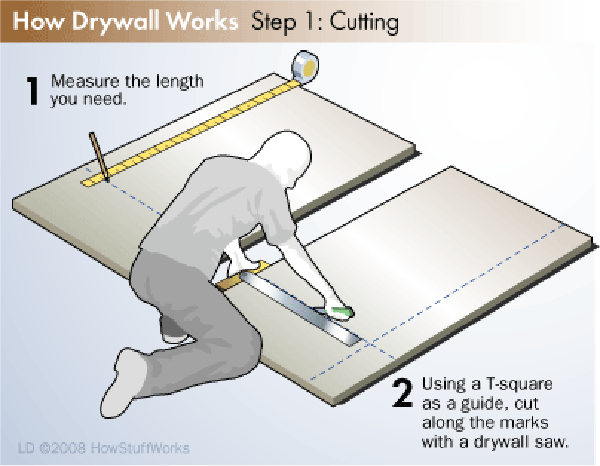
Step 1: Measure and mark the positions where the frame will be installed on the ceiling and floor surfaces.
Step 2:
Place the U-Track steel channels at the marked positions. Secure them using 6mm steel screws spaced 60cm apart. Use pliers or a hammer to ensure the screws are firmly fastened.
Step 3:
At openings such as doors or windows, extend the U-Track horizontally by 30cm to create connection points for vertical studs forming the door frame.
In addition to using 6mm expansion screws, fix the ends of the U-Track with 4mm screws spaced 15cm apart for extra stability.
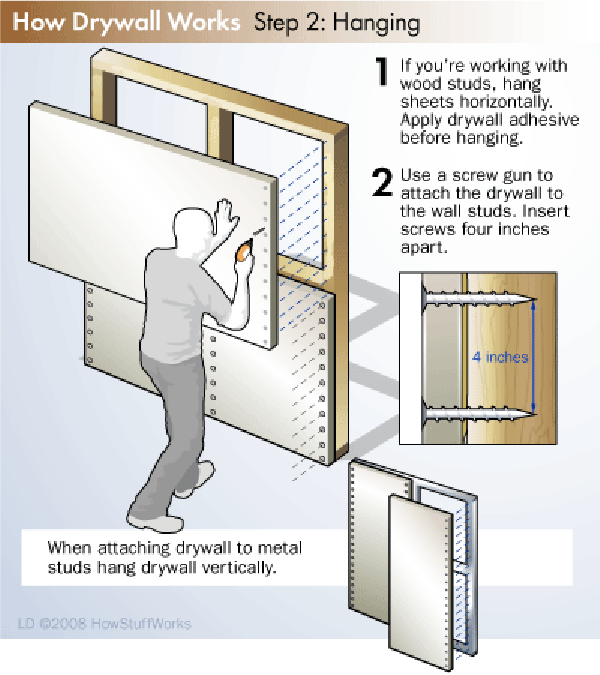
Step 4:
Cut the C-Channel steel studs according to the wall height. Install them vertically at right angles to the U-Track, spacing the studs 600mm apart. Secure all connection points between U and C channels using steel screws or rivets.
For walls higher than 2.4 meters, add an extra horizontal U-Track as a support line to fix the next layer of gypsum boards.
Step 5:
Install beveled-edge gypsum boards onto the steel frame vertically. Keep the bottom edge of the board about 10mm above the floor.
Fix the boards to the frame using 25mm drywall screws, ensuring a maximum screw spacing of 300mm.
Screw heads should penetrate the gypsum board surface by 1–2mm (do not drive screws completely through the board).
Using an electric screwdriver is recommended for faster and easier installation.

Step 6:
Fill and seal all joints and screw heads before applying paint or decorative wallpaper to the wall surface.
Step 7:
After treating and smoothing all board joints, apply a skim coat over the entire surface. Once the skim coat is completely dry, proceed to paint or decorate the gypsum wall according to the design.
(Source: Internet)